3 Crafts to Prepare Your Home for the Fall
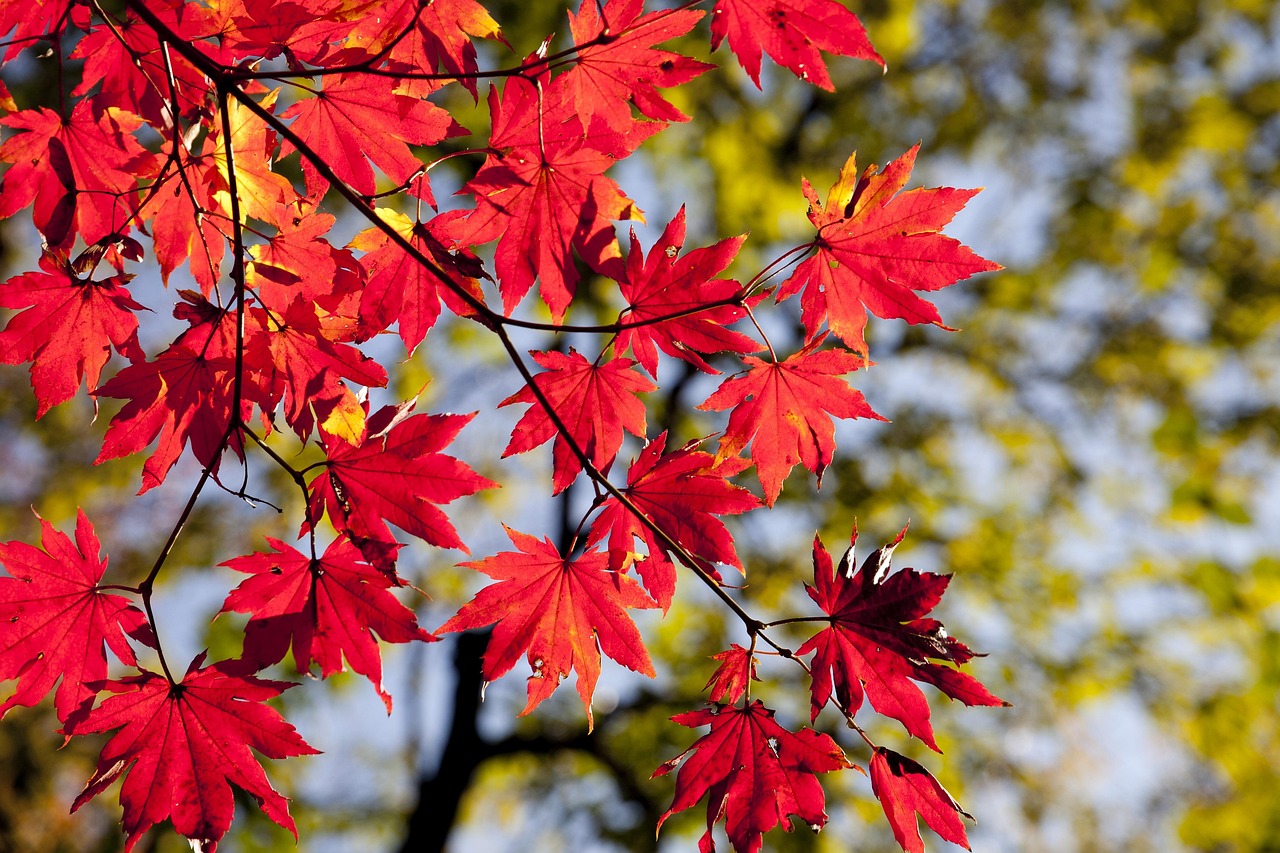
There’s no doubt that fall is the ultimate aesthetic month. The colors of the leaves, pumpkin patches opening, the crisp in the air, but most importantly the decor.
Pumpkin Succulent Holders
What’s cuter than a succulent? A succulent inside of a pumpkin! This craft is simple, easy, and doesn’t require too many materials. It’s perfect for inside or outside, and can sit on any kind of surface.
What you’ll need:
- A small to medium sized pumpkin (depending on size of plant)
- A knife that can carve into a pumpkin
- A spoon
- A bowl
- A succulent plant
Steps:
- Take your pumpkin and put it on top of a surface you don’t mind getting a little dirty. It’s not too messy of a craft if you’re careful, but it’s better to be safe!
- Take your knife and carve a shallow hole around the stem of the pumpkin about the size of the container the succulent is currently in.
- Remove the top of the pumpkin that you’ve carved, and begin scooping out the inside of the pumpkin until you have a shallow hole the depth of the dirt of the succulent.
- Carefully remove the succulent and dirt from the container it’s in, and place it into the top of the pumpkin
- If there’s room, for a more natural pumpkin look, carve the stem of the pumpkin out of the top part you removed, and stick it into the middle of the dirt of the succulent.
Fall Mason Jar Centerpiece
Do you ever wonder what you keep all those jars around for? It was clearly to make an incredibly cute centerpiece for your kitchen table! This craft works as both a centerpiece and a dim light for ambiance.
What you’ll need:
- Jars
- Leaves from outside
- Glue
- Fairy lights
- Small rocks from outside
- Rope string
Steps:
- The first step is to stick the leaf to the jar. Depending on how big the opening of the jar is, and if you can reach inside, you’ll either put the leaf on the inside or outside of the jar. If the opening is big enough, put glue on the side of the leaf you want facing the outside, and stick a leaf on each side of the jar on the inside. If not, put the glue on the opposite side of the leaf.
- Put the fairy lights battery pack into the jar, then fill the bottom with rocks so it covers the bottom of the jar, and covers the battery pack. Then put the lights on top of the rocks.
- Wrap the rope string around the top of the jar where the lid would go until it covers the area, then tie a knot and cut at the ends.
Fall Leaves Garland
We’ve got your tables covered with the last two crafts, but that still leaves the top part of the room. This garland is made with homemade paper leaves and a few in-home items.
What you’ll need:
- String
- Fall-colored construction paper
- Glue
- Cooking pan
- Cheese grater or something like it
- Fall colored chalk
- Scissors
Steps:
- Put a little bit of water in the cooking pan
- Grate some of the chalk into the water, a little of each color
- Set the paper into the water for just a second, then set it in a place to dry
- Once the paper is dried, it should have a leaf-like nature pattern. Take the paper and cut out a leaf pattern until you have enough leaves to fill the length of the string you want to have.
- Place a dot of glue on each leaf, then glue to the string.
These fall crafts need a home to decorate. Discover homes you might just fall for.
Published: September 9th, 2026
Category: Local Resources
 MIBOR REALTOR® Association All information deemed reliable but not guaranteed. All properties are subject to prior sale, change or withdrawal. Neither listing broker(s) or information provider(s) shall be responsible for any typographical errors, misinformation, misprints and shall be held totally harmless. Listing(s) information is provided for consumer's personal, non-commercial use and may not be used for any purpose other than to identify prospective properties consumers may be interested in purchasing. The data relating to real estate for sale on this website comes in part from the Internet Data Exchange program of the Multiple Listing Service. Real estate listings held by brokerage firms other than Berkshire Hathaway HomeServices Indiana Realty may be marked with the Internet Data Exchange logo and detailed information about those properties will include the name of the listing broker(s) when required by the MLS. Copyright ©2026 All rights reserved.
Last Updated: September 12, 2026 8:50 PM UTC
MIBOR REALTOR® Association All information deemed reliable but not guaranteed. All properties are subject to prior sale, change or withdrawal. Neither listing broker(s) or information provider(s) shall be responsible for any typographical errors, misinformation, misprints and shall be held totally harmless. Listing(s) information is provided for consumer's personal, non-commercial use and may not be used for any purpose other than to identify prospective properties consumers may be interested in purchasing. The data relating to real estate for sale on this website comes in part from the Internet Data Exchange program of the Multiple Listing Service. Real estate listings held by brokerage firms other than Berkshire Hathaway HomeServices Indiana Realty may be marked with the Internet Data Exchange logo and detailed information about those properties will include the name of the listing broker(s) when required by the MLS. Copyright ©2026 All rights reserved.
Last Updated: September 12, 2026 8:50 PM UTC
 IDX information is provided exclusively for consumers personal, non-commercial use and may not be used for any purpose other than to identify prospective properties consumers may be interested in purchasing. Data is deemed reliable but is not guaranteed accurate by the MLS. IDX information is provided by the Indiana Regional MLS.
Information last updated on September 12, 2026 8:49 PM UTC
IDX information is provided exclusively for consumers personal, non-commercial use and may not be used for any purpose other than to identify prospective properties consumers may be interested in purchasing. Data is deemed reliable but is not guaranteed accurate by the MLS. IDX information is provided by the Indiana Regional MLS.
Information last updated on September 12, 2026 8:49 PM UTC
